

How to Do Grout Sealing for Floor Tiles and Precautions
How to Do Grout Sealing for Floor Tiles
Grout sealing for floor tiles is increasingly common in the current floor decoration market. Grout sealing treatment can make the floor more beautiful and elegant, and the grout sealant filled in the floor gaps also makes it easier to clean the floor gaps where dust easily accumulates. In fact, grout sealing for floor tiles is not complicated to operate. Let's learn how to do grout sealing for floor tiles, and you can do it yourself after learning.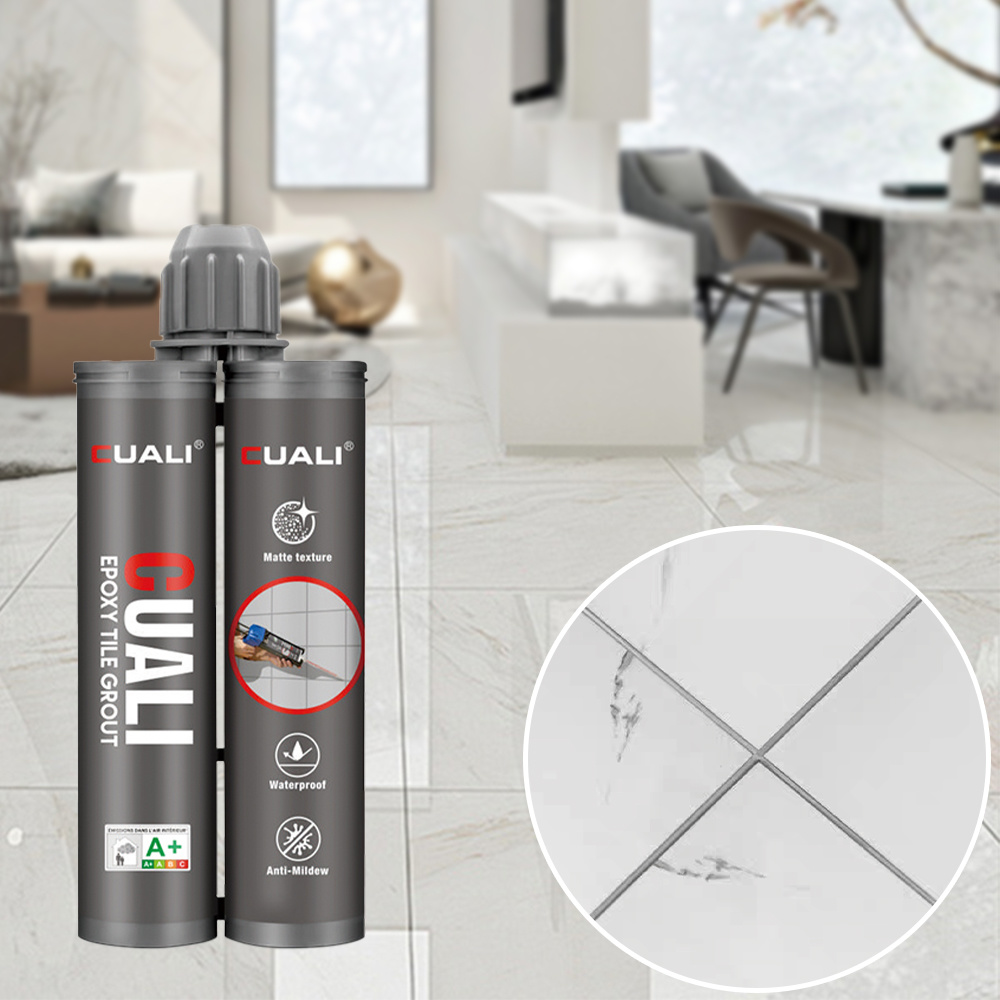
Tools needed for grout sealing for floor tiles: Grout sealant, caulking gun, masking tape, brush, gap cleaning cone, utility knife, gap cleaning cone, grout pressing rod, etc. Usually, you can buy the required tools online, and the price will be cheaper than in physical stores. After preparing the tools, let's see how to do grout sealing for floor tiles.
First, clean the floor tiles, and remove all the dust, sand, etc., from the surface of the floor tiles and the gaps between the floor tiles. It is recommended to use a vacuum cleaner to remove the floating dust in the gaps, and use a gap cleaning cone to clean the places in the gaps between the tiles that are difficult to clean. There must be No standing water in the gaps between the floor tiles before grout sealing construction. Places prone to 积水 like toilets and kitchens must be cleaned before grout sealing construction for floor tiles. After cleaning the gaps between the floor tiles, paste the masking tape. The edge of the masking tape needs to be pasted close to the edge of the floor tile to avoid skewing, and pay attention not to exceed the edge. First, paste the masking tape on the edge of the horizontal gap, and then paste the edge of the vertical gap after construction, so that grout sealing is done along one direction, and the construction efficiency will be much higher. After the masking tape is pasted, start grout sealing.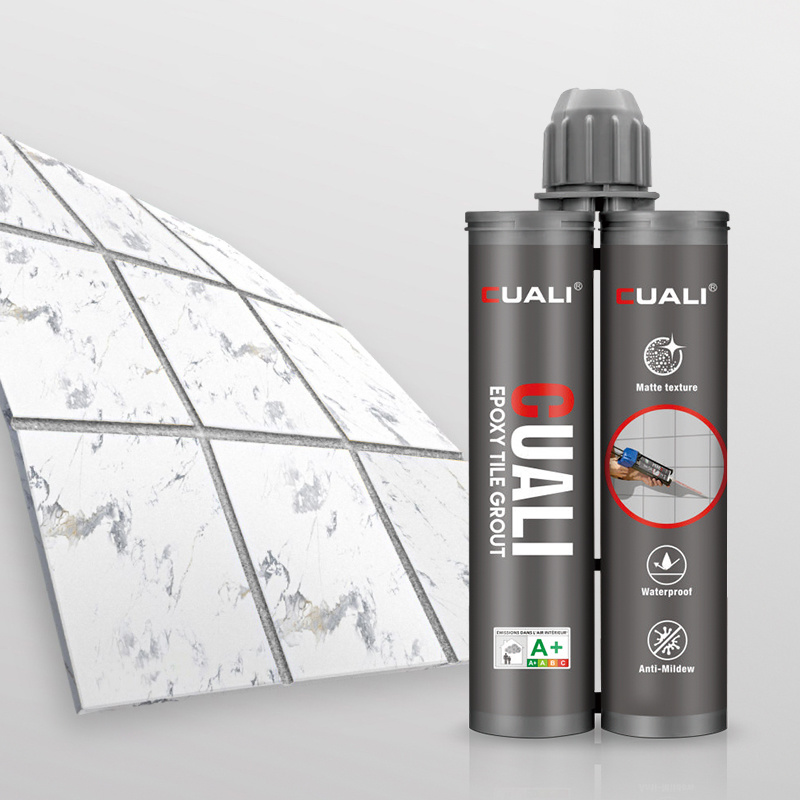
Unscrew the outlet of the grout sealant, do not open the outlet too large, as a too large outlet will cause uneven material output. Install the grout sealant on the caulking gun, extrude the waste material, then install the rubber nozzle, start construction, apply force evenly to ensure even material output, and complete one gap in one go. After the grout sealant is applied, press it once with a grout pressing rod, and then wipe off the overflowing part on both sides with a sponge, so that one grout sealing is completed. Because the grout sealant is difficult to clean after it dries, we need to use a wet sponge to clean the overflowing grout sealant before the grout sealant solidifies. After the grout sealant dries, tear off the masking tape, and then wipe the soiled tiles around with a rag.
Summary:
The steps of grout sealing include preparing tools such as grout sealant and caulking gun, cleaning the floor tiles and gaps, pasting masking tape, applying grout sealant, pressing the seam with a rod, cleaning the overflowing part, and tearing off the masking tape after drying. Key points to note are that there should be No standing water in the gaps before construction, the masking tape should be pasted close to the tile edge, the material output should be even when applying the sealant, and the excess sealant should be cleaned up in time before it dries. It is pointed out that grout sealing can make the floor more beautiful and easy to clean, and homeowners can try DIY after mastering the method.
Time:
2025-06-28
More News
HELLO
Please feel free to contact us for more details, there will be a professional team to provide you with satisfactory service
Add
17# Fuze Road, Sanjiao Town, Zhongshan City, Guangdong Province, China
Still have any question?
Get a free consultancy!
You can contact us through phone:
Tel:+86-18988564440 E-mail:marketing@zszlok.com
Contact Us
Zhongshan Cashleton Building Materials Co., Ltd.
Tel:+86-18988564440
E-mail:marketing@zszlok.com
Add:No. 17 Fuze Road, Gaoping Chemical Park, Sanjiao Town, Zhongshan City