

How to Grout Tiles and Operation Methods
When constructing a new house, some people skip tile grouting to save costs. After a few years, tile gaps turn black and dirty. Daily cleaning proves ineffective, often leading to hiring professionals for restoration. In reality, while tile grouting confuses many, it’s a simple DIY task with basic tools. Here’s a guide to grouting methods and their benefits.
How to Grout Tiles
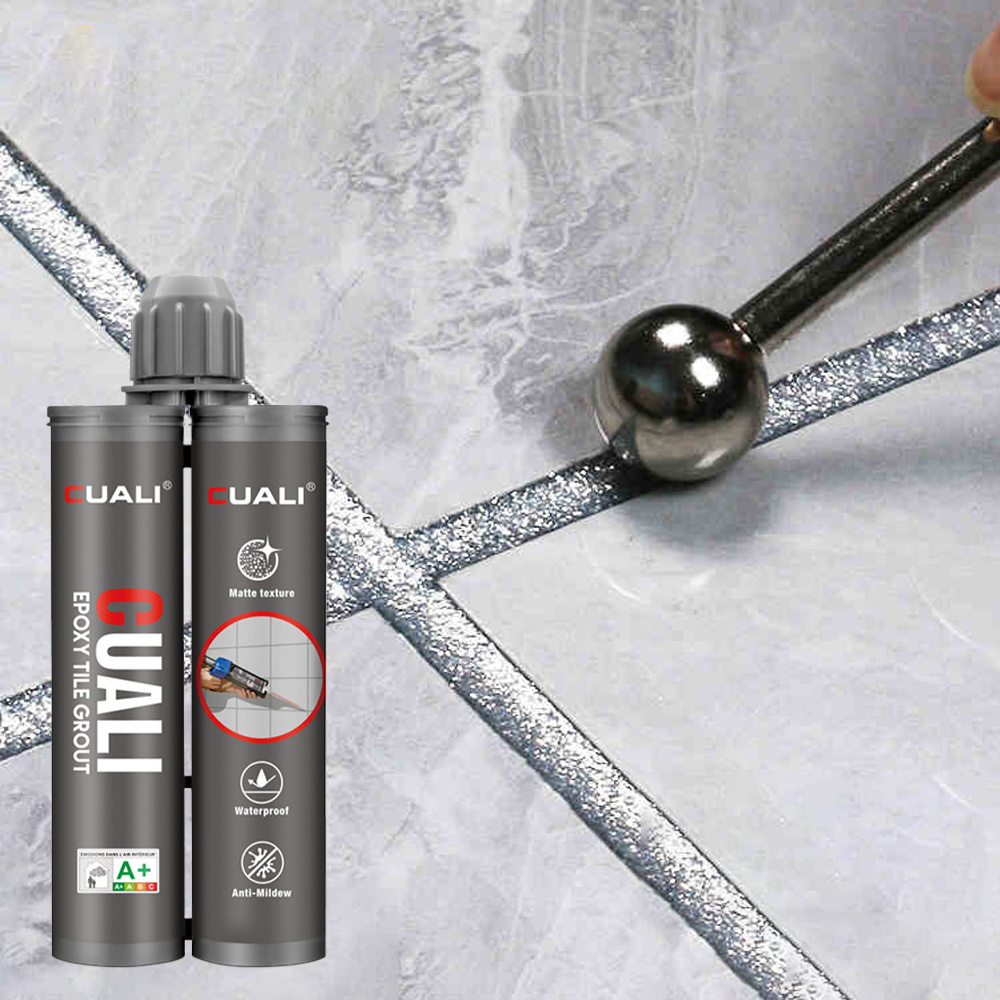
- Required Tools: Grout sealant, scissors, rubber scraper, spray bottle, paper towels.
- Color Selection: Choose based on personal preference and tile style.
- Operation Details:
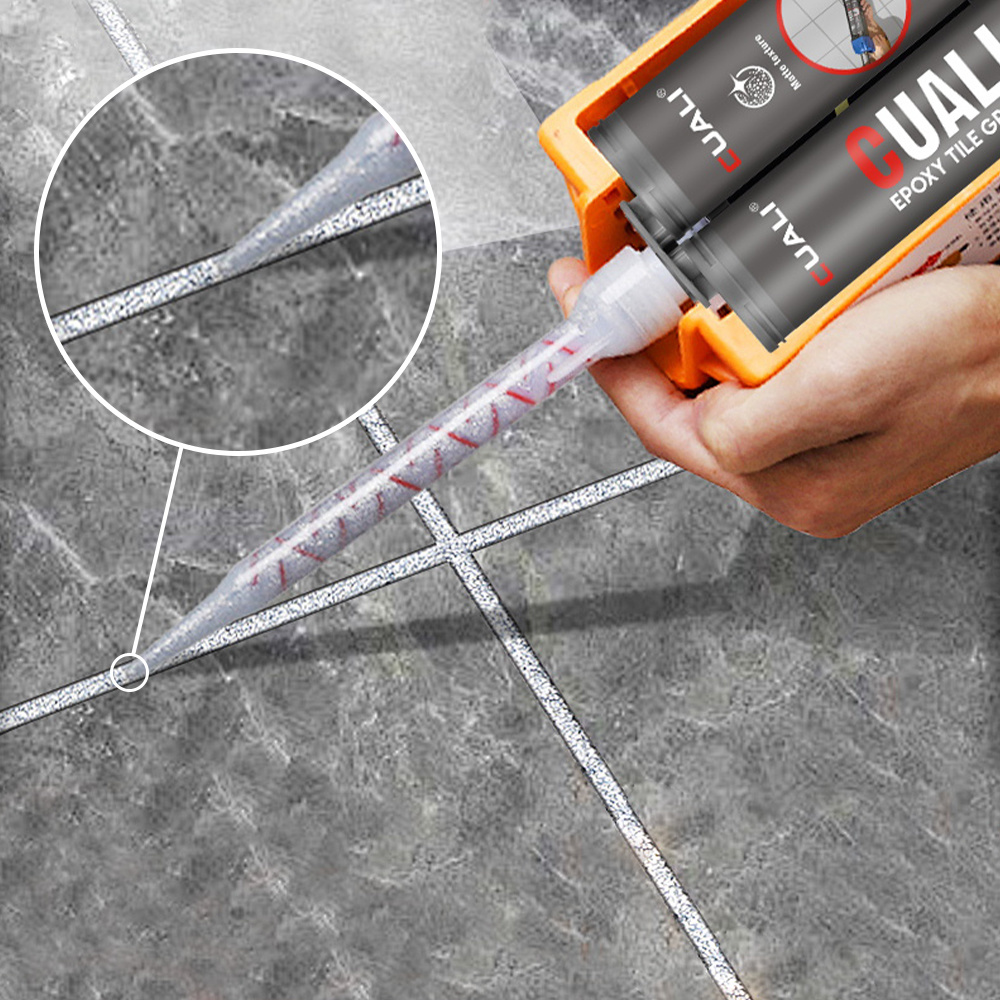
- Cut the grout bottle nozzle, attach a 45°-angled dispensing tip.
- For gaps <2mm, cut the tip at an angle; for wider gaps, make multiple incisions.
- Ensure the tip width is narrower than the gap to prevent overflow.
Operation Steps
- Clean the Area: Remove debris from tile surfaces and gaps; ensure no dust remains.
- Dust Removal: Wipe gaps with a wet sponge, then apply grout evenly using a caulking gun.
- Smoothing & Cleaning: Scrape excess grout with a silicone trowel; use a sponge to wipe overflow immediately.
- Quality Standards: Ensure no bubbles, pits, or residue for a fresh finish.
Benefits of Tile Grouting
- Aesthetic Enhancement: Custom colors complement tiles, elevating overall decor appeal.
- Waterproof Protection: Sealed gaps form a barrier, preventing water infiltration and mold growth.
Summary:
This article addresses common tile grouting challenges, offering a step-by-step DIY guide. It emphasizes cleaning, proper tool use, and color coordination. Key steps include debris removal, precise grout application, and immediate cleanup. Benefits include improved aesthetics and waterproofing, resolving issues like dirty gaps and mold. Homeowners can achieve professional results with minimal effort.
Time:
2025-06-28
More News
HELLO
Please feel free to contact us for more details, there will be a professional team to provide you with satisfactory service
Add
17# Fuze Road, Sanjiao Town, Zhongshan City, Guangdong Province, China
Still have any question?
Get a free consultancy!
You can contact us through phone:
Tel:+86-18988564440 E-mail:marketing@zszlok.com
Contact Us
Zhongshan Cashleton Building Materials Co., Ltd.
Tel:+86-18988564440
E-mail:marketing@zszlok.com
Add:No. 17 Fuze Road, Gaoping Chemical Park, Sanjiao Town, Zhongshan City