

Preparations for DIY Grouting: Do Your Homework First
Compared to other renovation tasks, grouting is fairly easy to do, but it’s a real test of strength and patience. If you’re not handy, it’s better to hire a professional. But if you’re good with your hands, teaming up with someone else works perfectly—you’ll avoid mistakes and save a lot on labor costs. Let’s walk through the grouting process step by step.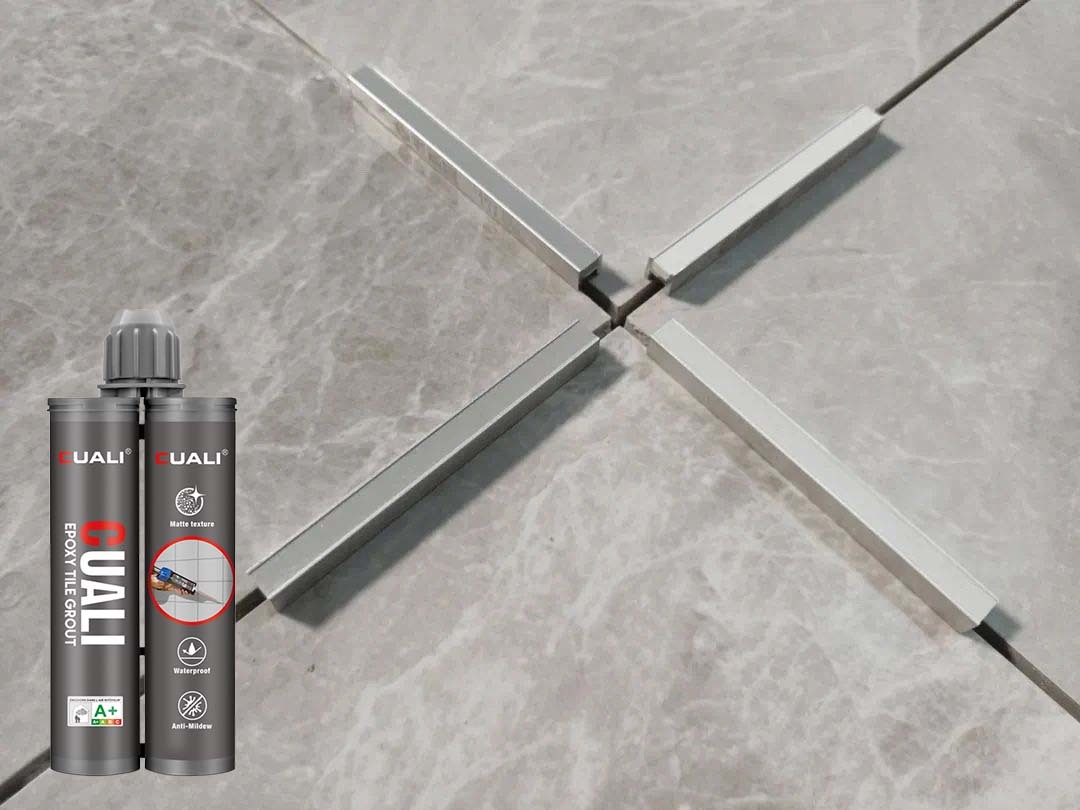
Step 1: Clean the Gaps
No matter what grout material you use, the first step is to clean the gaps between tiles with a grout knife. Make sure there’s no debris or cement left in the gaps—otherwise, dark edges will form. After that, use a vacuum to suck up all the crumbs, wipe the sides of the gaps clean, and then dry them with a heat gun.
If you don’t want to end up with a sore back right from the start, ask your tiler to wipe the gaps while laying the tiles. That’s the easiest time to clean them!
Step 2: Waxing or Masking Tape
Masking tape is better for beginners. Waxing the tiles is trickier—too little wax makes it hard to scrape off later, and you might accidentally get wax into the gaps. Masking tape protects the tiles well, so you won’t scratch them when scraping off excess grout.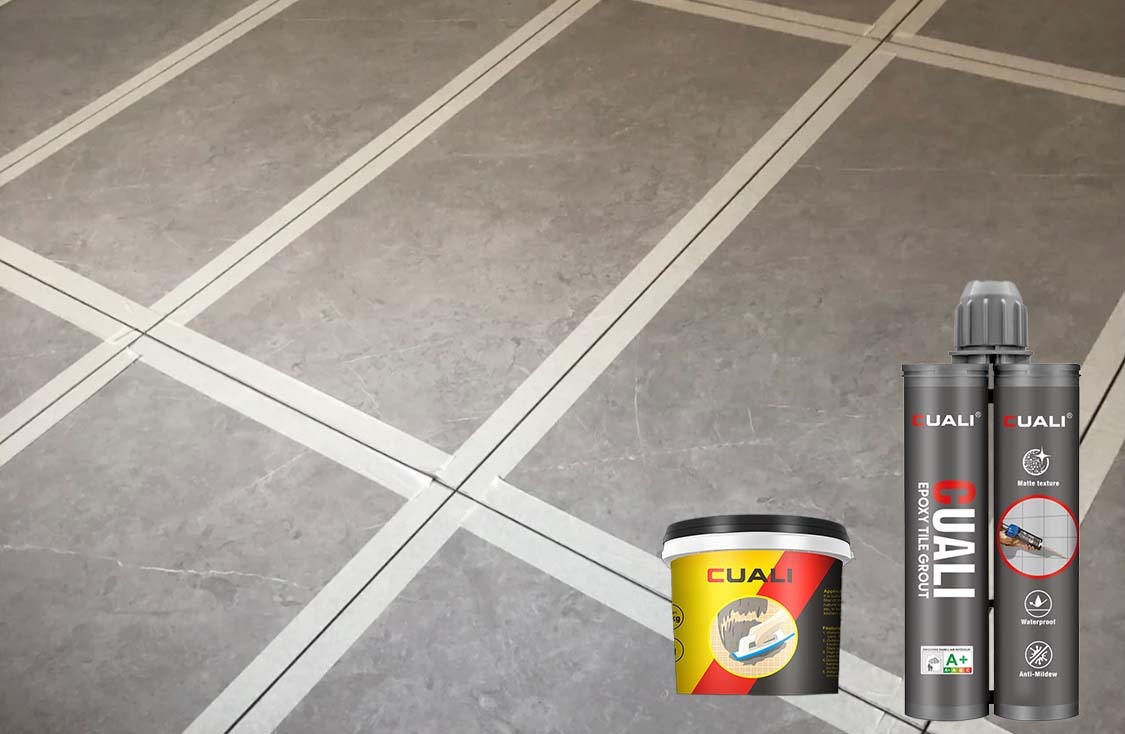
Step 3: Apply the Grout
First, warm up the grout with a heating pack (or soak it in hot water)—otherwise, it won’t come out of the tube easily. It’s best to work when the room temperature is above 15°C. If it’s too cold, even if the grout melts, it will shrink when it touches the cold tiles, leaving gaps unfilled.
Load the grout into a caulking gun, cut the tip of the tube to match the size of the tile gaps, and squeeze out about 20cm of grout to check. If it looks good, start filling the gaps.
Epoxy sanded grout needs mixing, which is easy to mess up—better to leave that to professionals.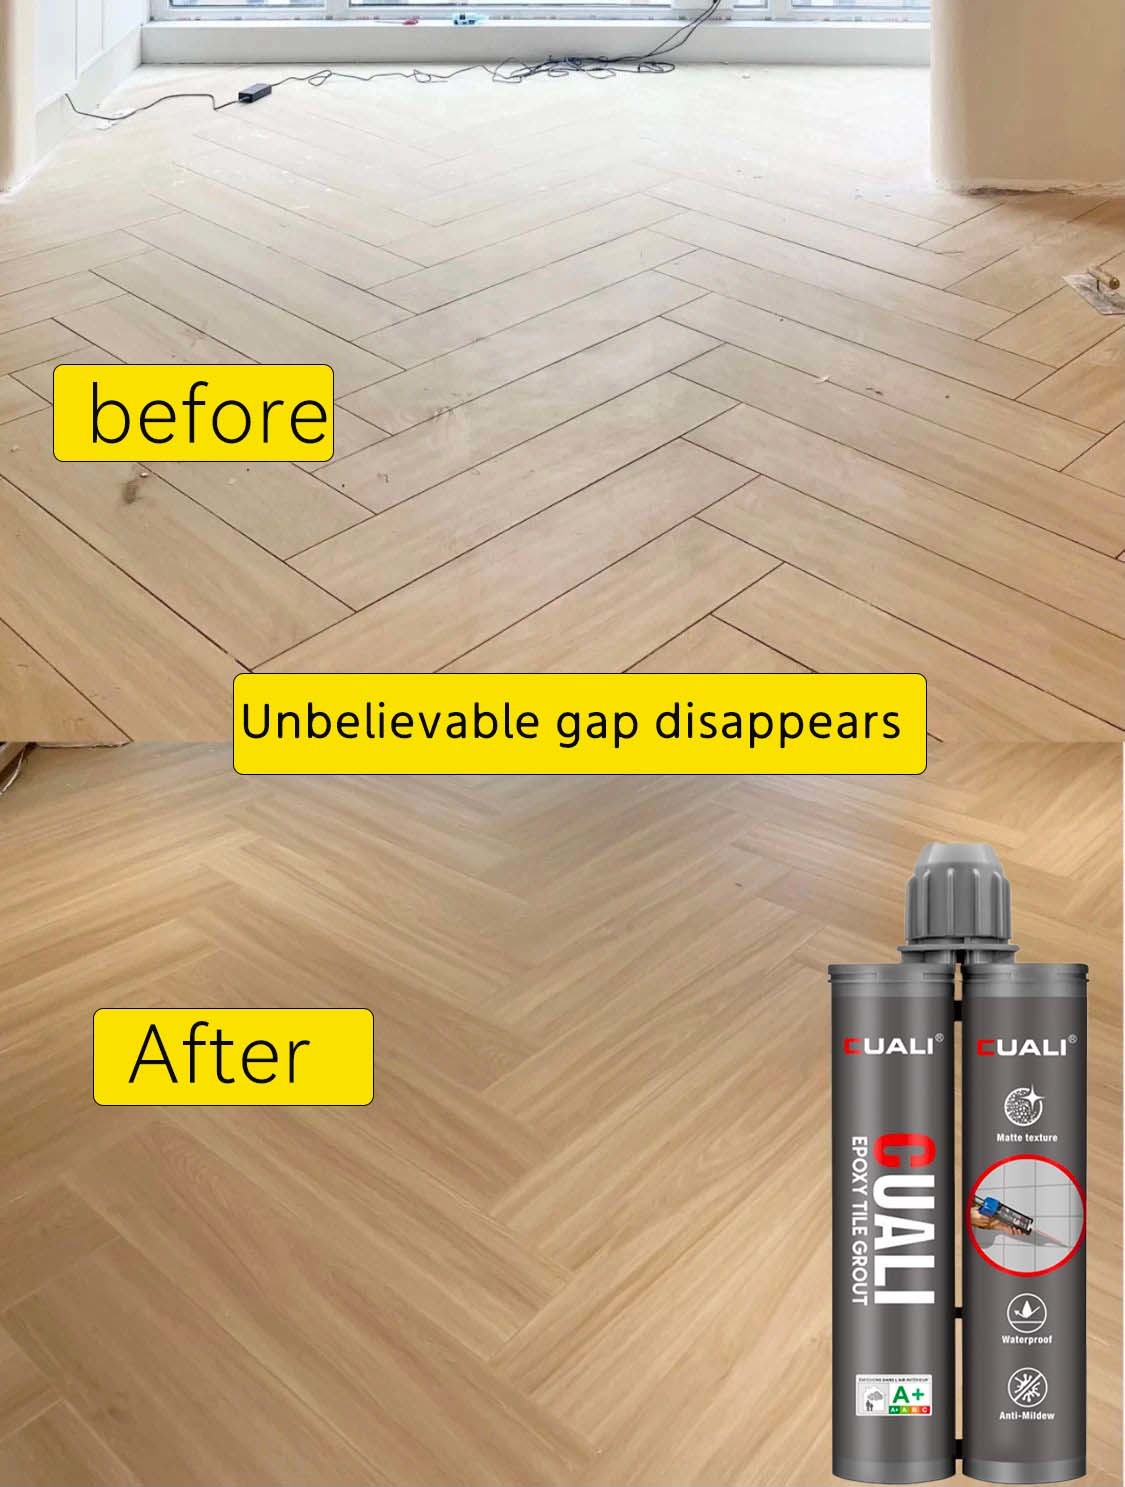
Step 4: Smooth the Grout
There are two common tools for this: a grout smoothing ball works for tiles with straight edges. For tiles with curved edges, use a scraper.
Step 5: Scrape Off Excess Grout
Wait 24–72 hours until the grout is completely dry, then scrape off the extra grout.
It looks simple enough, but this job is tiring! If you have back problems, it’s better to hire a pro. That way, you’ll also get after-sales support if something goes wrong later.
Summary:
This article guides DIY enthusiasts through the grouting process: cleaning gaps, using masking tape (or wax), applying grout (with temperature tips), smoothing, and scraping off excess. It notes that while doable, it’s physically demanding and recommends professionals for those with back issues or for tricky materials like epoxy sanded grout.
Time:
2025-08-22
More News
HELLO
Please feel free to contact us for more details, there will be a professional team to provide you with satisfactory service
Add
17# Fuze Road, Sanjiao Town, Zhongshan City, Guangdong Province, China
Still have any question?
Get a free consultancy!
You can contact us through phone:
Tel:+86-18988564440 E-mail:marketing@zszlok.com
Contact Us
Zhongshan Cashleton Building Materials Co., Ltd.
Tel:+86-18988564440
E-mail:marketing@zszlok.com
Add:No. 17 Fuze Road, Gaoping Chemical Park, Sanjiao Town, Zhongshan City