

How to Ensure the Quality of Marble Bonding
Marble is porous, brittle, and often used for high-aesthetic spaces—so ensuring strong, seamless, and long-lasting bonding requires attention to material selection, surface preparation, application techniques, and post-bonding care. Below is a step-by-step guide to guarantee bonding quality: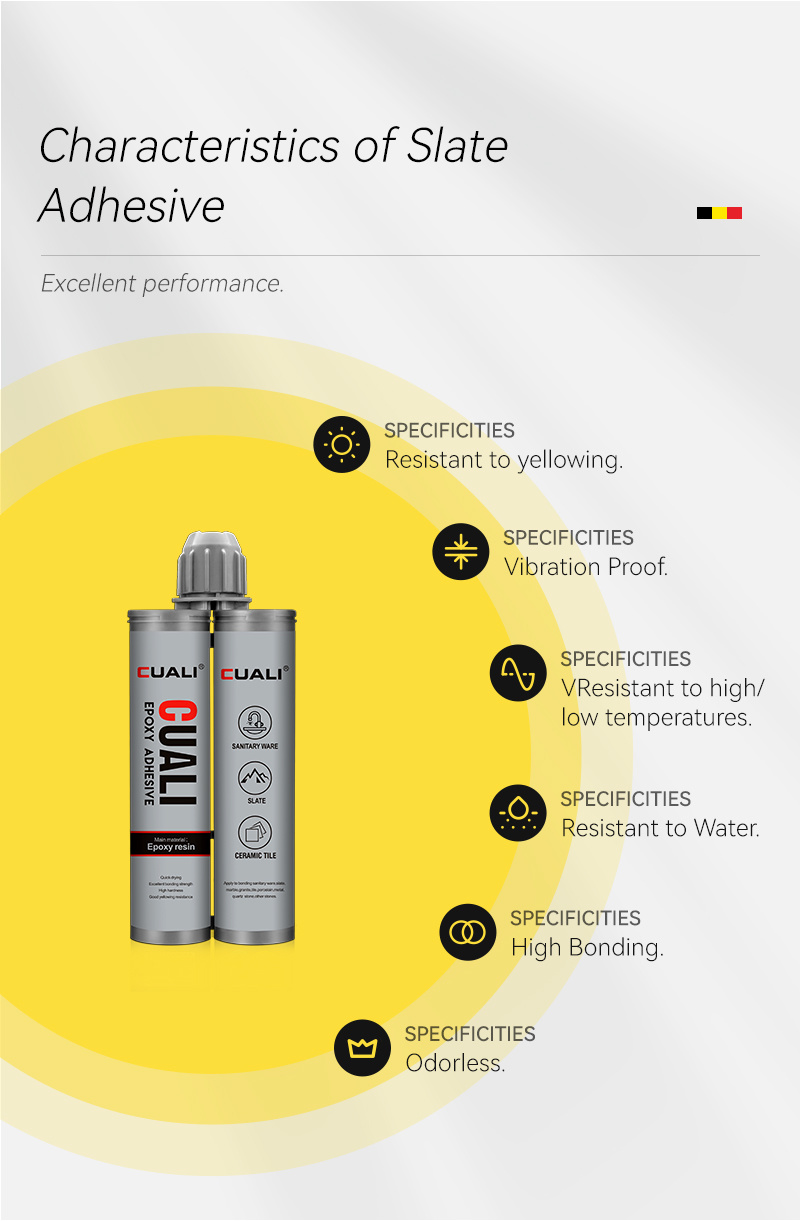
1. Choose the Right Adhesive for the Scenario
The first rule of quality bonding is matching the adhesive to your specific needs—using the wrong type will lead to premature failure (e.g., cracking, peeling, or staining).
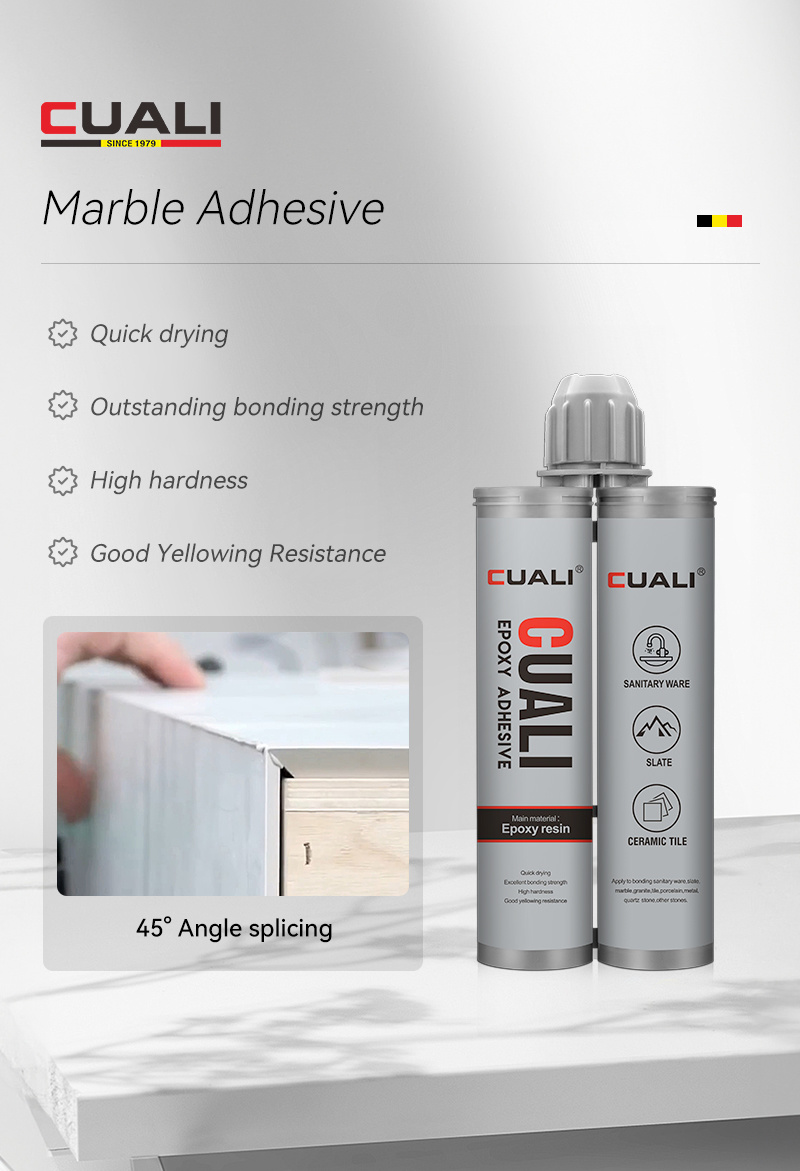
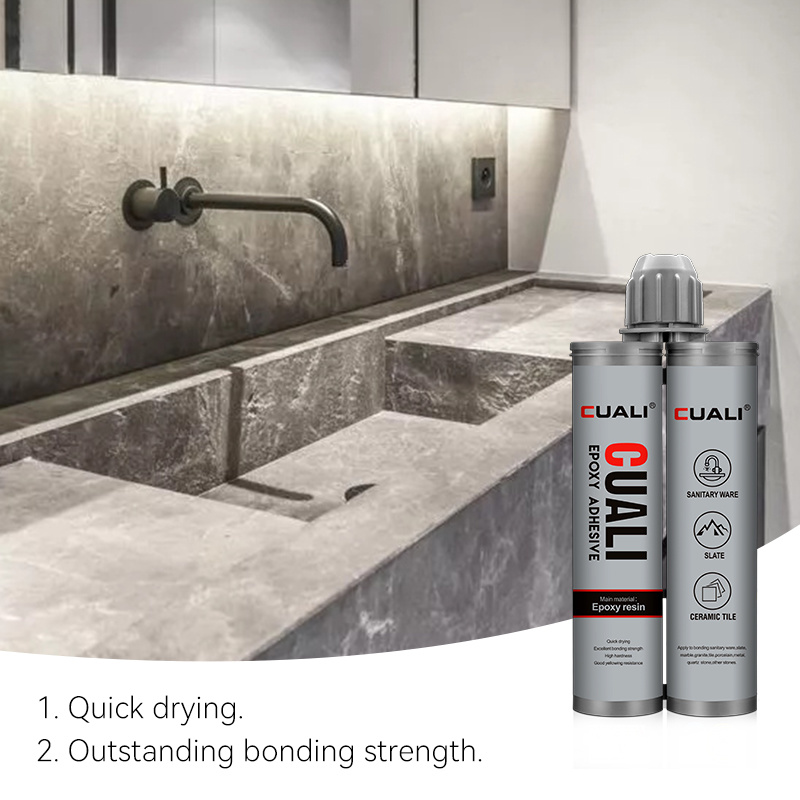
- High-strength, seamless tasks (countertops, wall panels): Opt for two-part epoxy resin (transparent or marble-matching shade). It has low shrinkage, high bond strength, and resists stains—critical for visible, load-bearing areas.
- Small repairs (chips, inlays): Use marble-specific cyanoacrylate (super glue). Look for formulas with anti-stain additives to avoid discoloring light marble.
- Outdoor/heterogeneous bonding (patio tiles, metal frames): Select fast-cure polyurethane adhesive. It’s flexible (handles thermal expansion) and weather-resistant (resists rain, UV rays).
- Large-area floors (hallways, lobbies): Go for marble-specific cementitious adhesive (with polymers). It bonds well to porous marble and concrete substrates, ideal for high-traffic zones.
- Pro tip: Avoid acidic adhesives (e.g., cheap super glues) or oil-based formulas—they can etch marble’s surface or seep into pores, causing permanent stains.
2. Prepare Surfaces Thoroughly (No Shortcuts!)
Marble’s porous surface and dust/debris on substrates are the top causes of weak bonding. Follow these steps:
- Clean the marble: Wipe the bonding area with a pH-neutral cleaner (avoid vinegar, bleach, or acidic solutions) to remove oil, grease, or dust. For old marble, use a soft brush to scrub pores—residue here will prevent adhesion.
- Dry completely: Marble and substrates (concrete, wood, metal) must be 100% dry. Use a heat gun (set to low) to dry gaps or porous areas—moisture will cause the adhesive to bubble, cure unevenly, or lose strength.
- Smooth rough edges: For cracked or chipped marble, use fine-grit sandpaper (400–600 grit) to smooth edges. Jagged surfaces create gaps where adhesive can’t fill, leading to weak bonds.
- Prime if needed: For highly porous marble (e.g., travertine) or non-porous substrates (e.g., metal), apply a marble-specific primer. It seals pores and improves adhesive grip—skip this, and the adhesive may sink into marble or peel off metal.
3. Master Adhesive Application Techniques
Even the best adhesive fails with improper application. Focus on these details:
- Mix correctly (for two-part adhesives): Epoxy or polyurethane adhesives require precise ratio mixing (e.g., 1:1 or 2:1 resin-to-hardener). Use a clean tool (wooden stick, plastic spatula) and mix for 1–2 minutes—under-mixing causes uneven curing; over-mixing introduces bubbles.
- Apply the right thickness:
- Epoxy/resin: Use a thin, even layer (1–2mm). Too much will seep into marble pores and cause discoloration; too little leaves gaps.
- Cementitious adhesive: Spread a 3–5mm layer with a notched trowel—this ensures full contact with marble and substrate.
- Avoid air bubbles: Press marble gently but firmly into the adhesive (use clamps or weights for 30 minutes–2 hours, depending on the adhesive). For vertical bonding (e.g., wall panels), use temporary supports to prevent slipping—air bubbles trapped between marble and substrate weaken the bond.
- Clean excess immediately: Wipe off leftover adhesive with a damp cloth (for cementitious) or acetone (for epoxy/cyanoacrylate) before it cures. Cured adhesive is hard to remove and may scratch marble when scraped.
4. Control Curing Conditions
Fast-drying adhesives don’t mean "rush curing"—temperature, humidity, and time directly affect bond strength.
- Temperature: Most adhesives work best at 15–25°C. Below 10°C, curing slows drastically (epoxy may take 2x longer); above 30°C, epoxies can cure too fast, forming cracks. Use a space heater (indoor) or shade (outdoor) to stabilize temperature.
- Humidity: Keep indoor humidity below 60%. High humidity (e.g., bathroom renovations) can make cementitious adhesive set too slowly or cause epoxy to develop a cloudy finish.
- Wait for full curing: Don’t rush to use the bonded area. Epoxy needs 24 hours for full strength; cementitious adhesive takes 48–72 hours. Even "fast-dry" cyanoacrylate needs 1–2 hours to reach maximum bond—using it too soon leads to peeling.
5. Post-Bonding Inspection & Maintenance
After curing, check for issues and maintain the bond to extend its life:
- Inspect for flaws: Look for gaps, bubbles, or discoloration. Small gaps (≤1mm) can be filled with matching epoxy; large gaps or peeling mean re-bonding (remove old adhesive first with a scraper).
- Seal if necessary: For outdoor marble or high-moisture areas (e.g., bathroom countertops), apply a marble sealer after bonding. It protects both marble and adhesive from water damage and stains.
- Avoid heavy impact: For 1–2 weeks after bonding, avoid placing heavy objects (e.g., kitchen appliances on marble countertops) or walking on marble floors—this lets the adhesive fully stabilize.
Summary:
Ensuring marble bonding quality involves 5 key steps: selecting the right adhesive for the scenario, thoroughly cleaning/drying/smoothing surfaces, applying adhesive with proper thickness and bubble control, controlling temperature/humidity for curing, and inspecting/maintaining the bond post-curing. These steps prevent common issues like peeling, staining, and cracking.
Time:
2025-08-23
More News
HELLO
Please feel free to contact us for more details, there will be a professional team to provide you with satisfactory service
Add
17# Fuze Road, Sanjiao Town, Zhongshan City, Guangdong Province, China
Still have any question?
Get a free consultancy!
You can contact us through phone:
Tel:+86-18988564440 E-mail:marketing@zszlok.com
Contact Us
Zhongshan Cashleton Building Materials Co., Ltd.
Tel:+86-18988564440
E-mail:marketing@zszlok.com
Add:No. 17 Fuze Road, Gaoping Chemical Park, Sanjiao Town, Zhongshan City